It's a crafty life over here, it seems! I've managed to somehow get glue all over my hands as I tried to create a craft for you today. Be warned, when working with hot glue guns, you tend to get it all over yourself. Now, I've been racking my brain, trying to think of something to create in relation to any new beginnings. The problem is that there are so many wonderful ideas! After much thought, I decided to create a wreath for my door. Now, you're probably asking me, hey, Aria, how does that have to do with new beginnings?
Let me tell you. When you create a wreath, you've usually got a certain holiday in mind. You can create wreaths for all sorts of things. This one, I had the new school year in mind. So, this wreath is full of cute school books, pencils for the Muggles, and even inkwells and quills. In order to make a wreath, you're going to want to gather all of your supplies first.
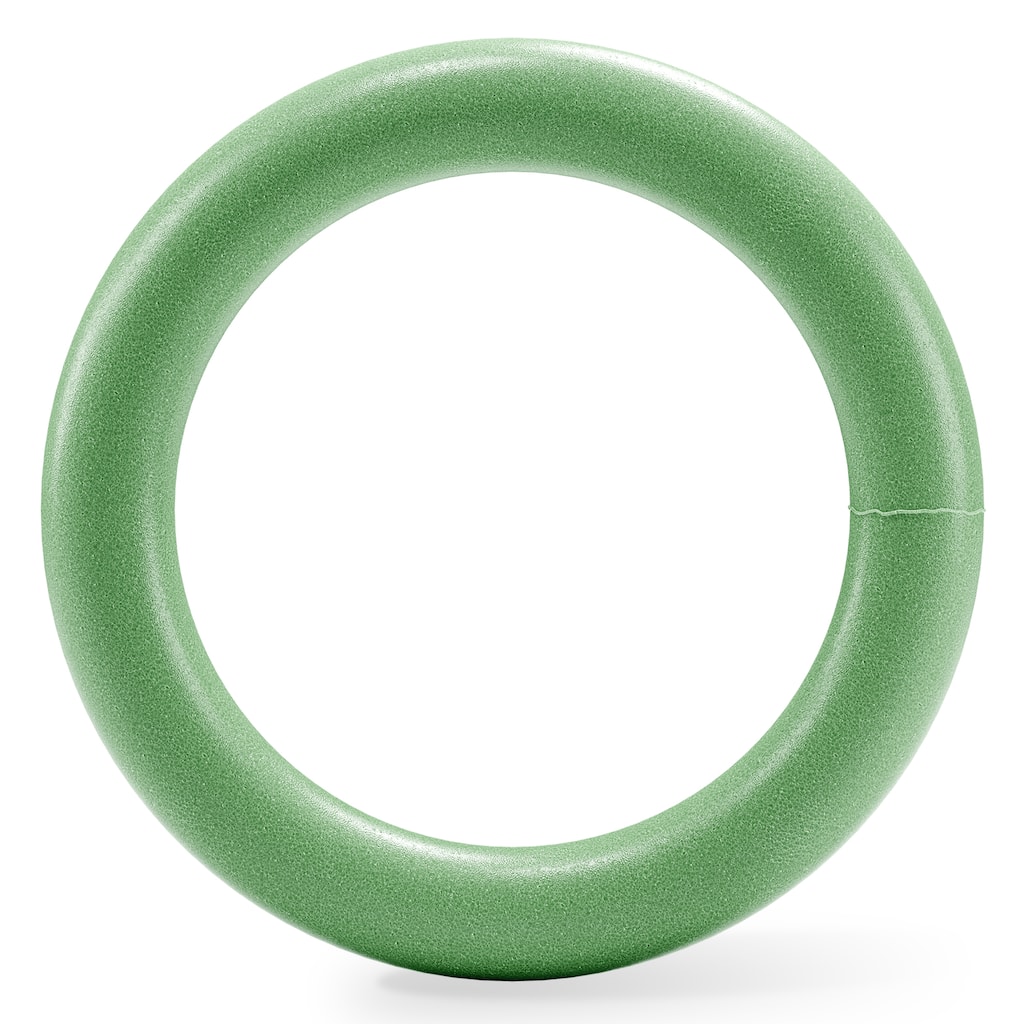
First, find a base for your wreath. I like to use wire hoops. You can wrap items around them a bit easier. However, for this particular wreath, we're going to use a foam hoop. You can find these in most craft stores. This is what a foam wreath base looks like.

Credit for image goes to this site.
You're going to want to collect all of your items. For this wreath, I used lots of lined paper for the basic outline of my wreath. Because we have a ton of paper, we're going to use our hot glue gun. Do not get hot glue stuck to your fingers. It will be stuck there for quite a while. And then, your hands will be hot, and you will get distracted by the glue on your fingers and forget about your wreath. Be prepared for that. Once you fold all your paper around the edge of your foam, you'll have a very interesting-looking wreath. Now, this is where the actual decoration comes in.
Locate the kind of items you want to put on your wreath. I chose crayons, pencils, and a paper ruler. Now, I went on google and picked images of cute items that had to do with school. I printed them out on thick poster paper so they'd stick to the other paper well. Gluing them all took more time than it should've, because once again I got distracted by the glue.
After I glued everything, I made a little back-to-school sign. Now, the picture I'm about to show you isn't mine. It's just the base I used. Mine was a little more haphazard and ugly, but we're going to not talk about that right now. We're just going to look at the pretty image of the one I tried to base mine off of.
Look how cute it is!

Credit for image goes to this site.
Stay artsy, friends! - Aria
