Things needed:
Make the skeleton
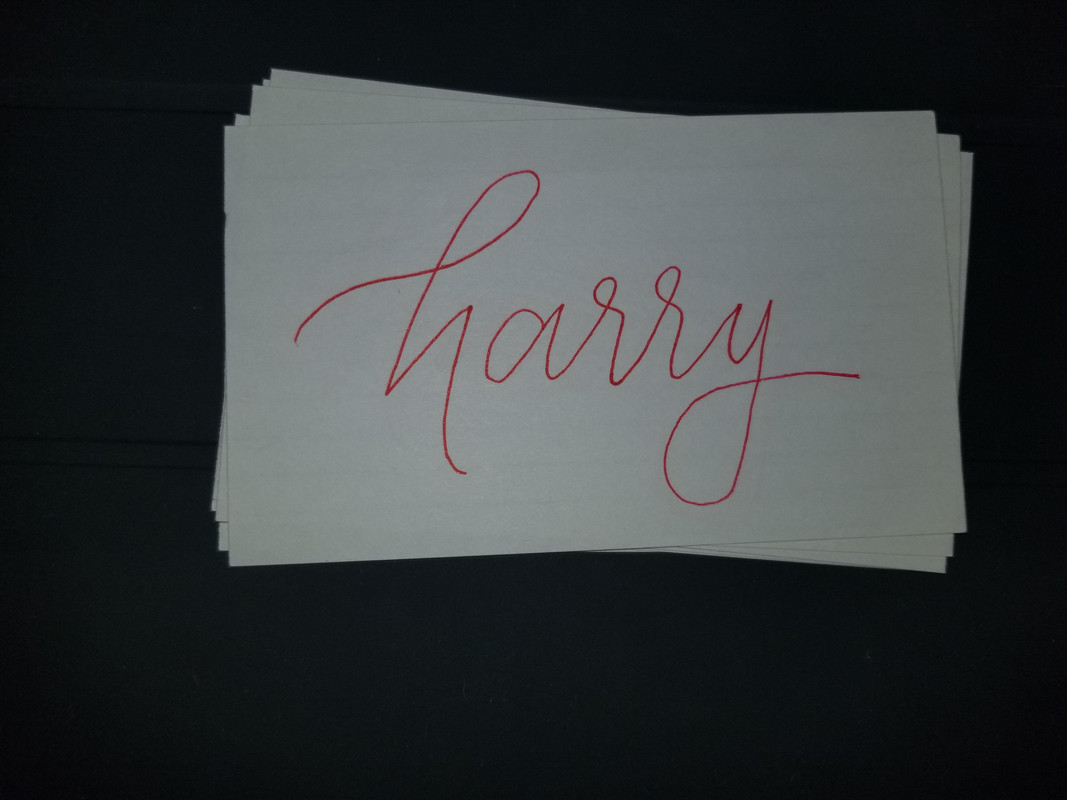
To start off our DIY Calligraphy session, choose a word or a phrase. Then, write it in cursive. While writing, pay attention to the direction of your strokes. It can be an upstroke, where you write going up or a downstroke, where you write going down. Those strokes will be important later on.
Identify and outline the downstrokes
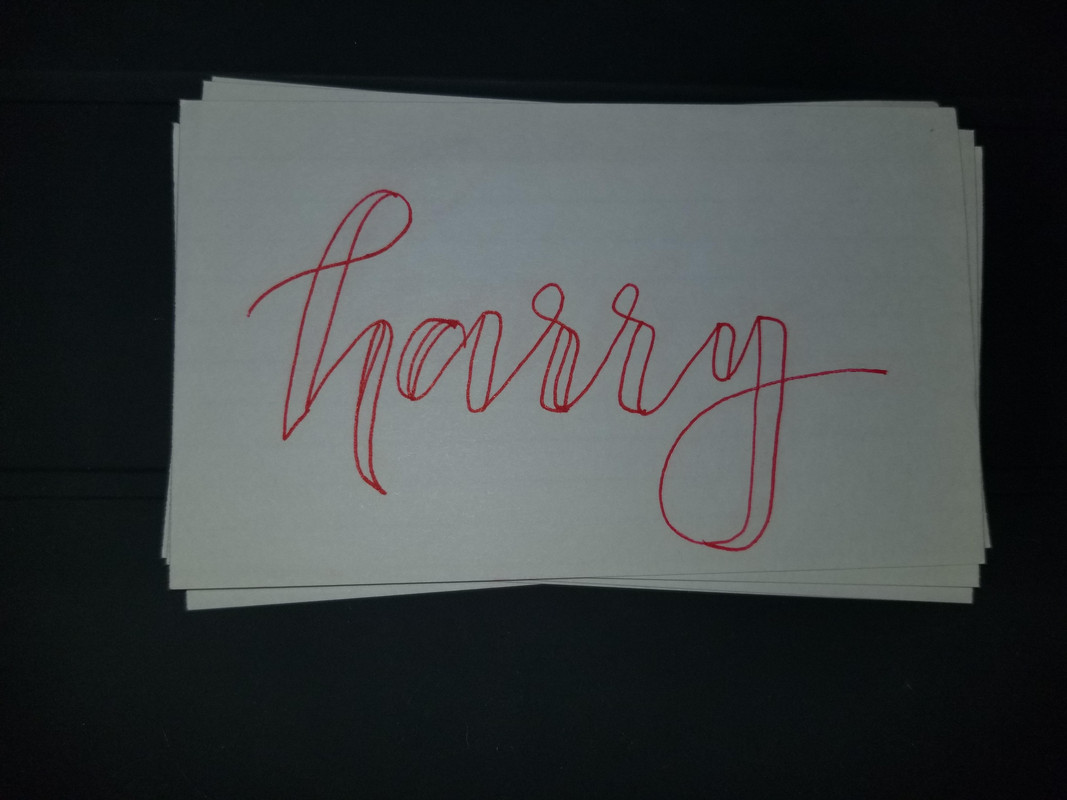
Now that you've finished the first step, identify your downstrokes. As previously stated, these are the parts where you were writing downwards. Once you've identified them, you need to make the downstrokes thicker. To make it thicker, add a parallel line next to it. It also doesn't matter where you put the line, as long as you have enough space, you're good to go!
If you're not satisfied on how thick the downstrokes are, don't worry! Just add another line, an example of that would be the one above.
Fill it in
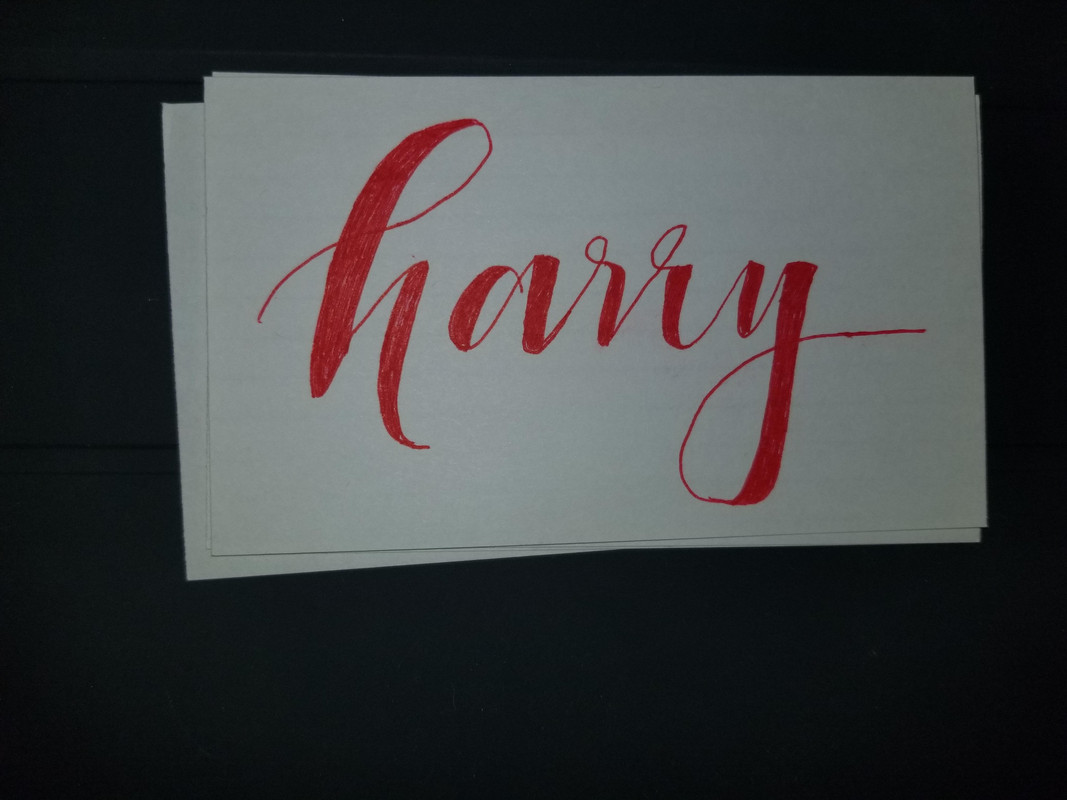
After finishing the first two steps, you're already halfway done! This, perhaps, is the simplest step of all. Fill in the downstrokes! You can fill it however way you want. If you want a solid color or just half of it filled in, it's your call! Design it however way you want.
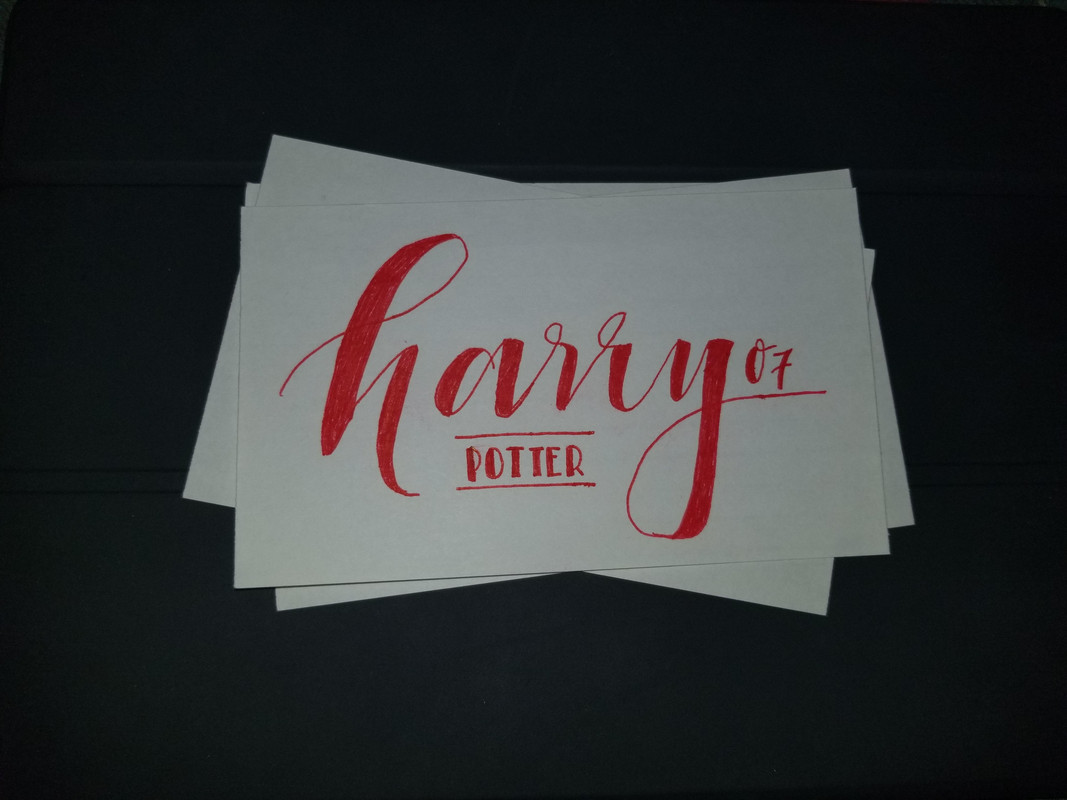
Add Decorations
The last and final step of our session is the decoration. Which, in my opinion, is the most fun step out of all. You can go big or you can do something simple with it. When doing those designs, if you add more letterings, make sure to write in a different font. The fonts complement each other and make your gorgeous creation even more beautiful.
With that final step, you're done! You can test out different fonts, designs, and sizes. Have fun with it! And don't stress if it's not "perfect". I know mine isn't. With enough practice, your designs will look amazing in no time.
All the best,
Louise
